1. Install Certificate
Get the
certificate from us and copy it into the hard drive.
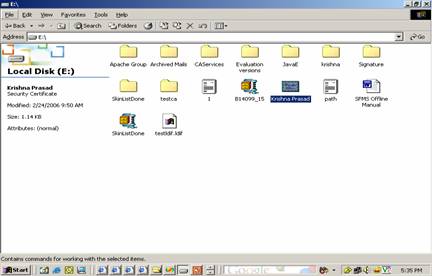
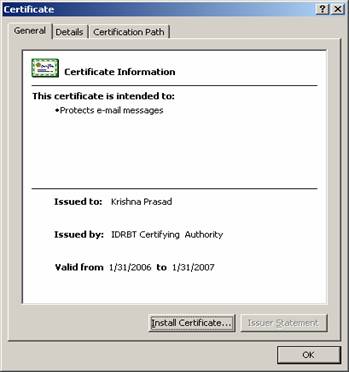
Double click
on the certificate then you will get the following screen.
Click on
“Install Certificate” button.
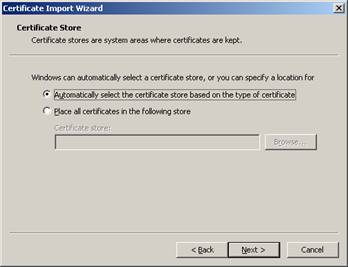
After
clicking on the Install Certificate button the following “Certificate Import
Wizard” appears.

Click Next button
Click Next
button
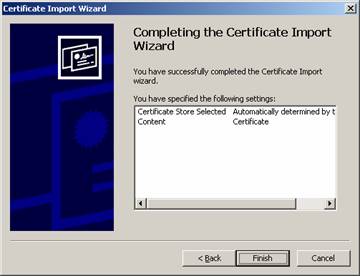
Click
Finish button
Click OK button to finish the operation. The Certificate will be added to the Certificate Store and can be viewed by the following procedure.
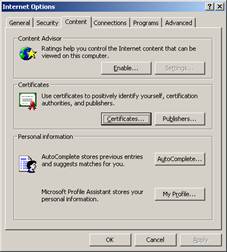
Open Internet Explorer à Tools à Internet Options à Content à Certificates
Go to Internet explorer > Tools > Internet
Options > Content tab > Certificates button as given below
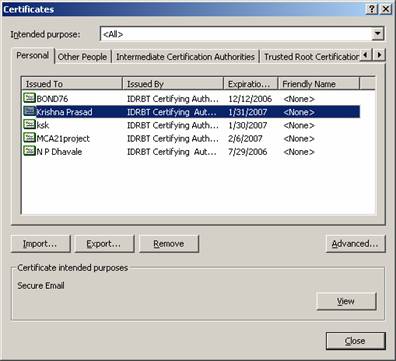
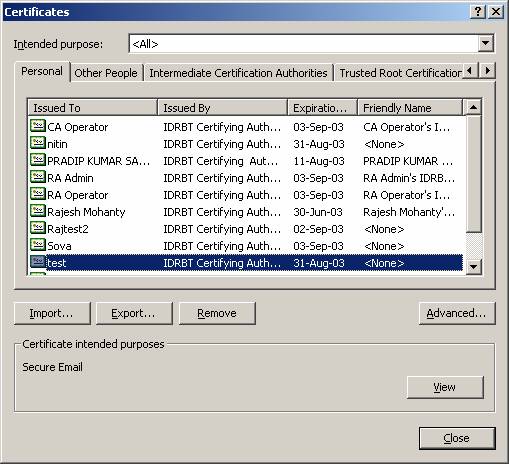
After clicking Certificates button, the following
window will appear where the user has to select the Certificate. Click Export
button to proceed.
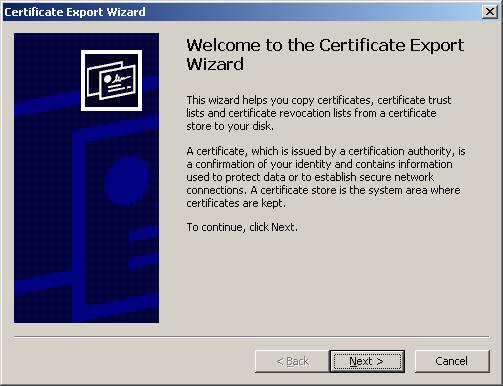
After clicking the Export button, the following
Wizard will popup and proceed by clicking Next button.
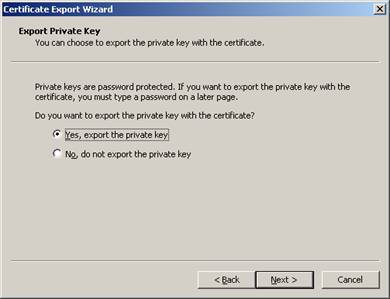
Subscriber is requested to read the instructions
given in the below wizard Subscriber
has to choose the “Yes, export the private key” option for its safe
storage in the local disk or other media and proceed further by clicking Next
button.
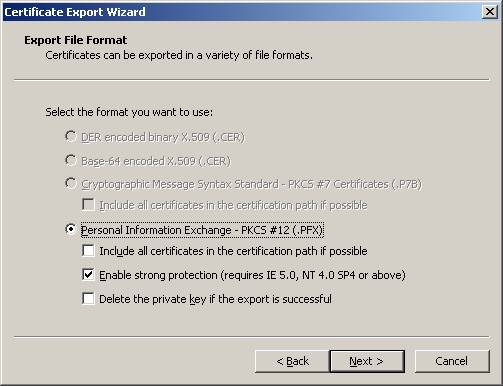
In the below wizard it asks for different options. “Enable
strong protection” will be checked by default. We suggest you to keep it as default and
after getting the same certificate with a new password the same can be deleted
from the browser after confirmation of the successful download.
By clicking next the following window will be
displayed.
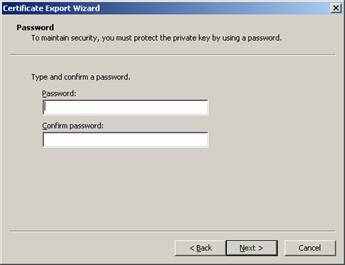
Provide the
new password and confirm it to enable strong protection to your key pair.
Note: Blank passwords are also accepted. It is
suggested to give password of reasonable length.
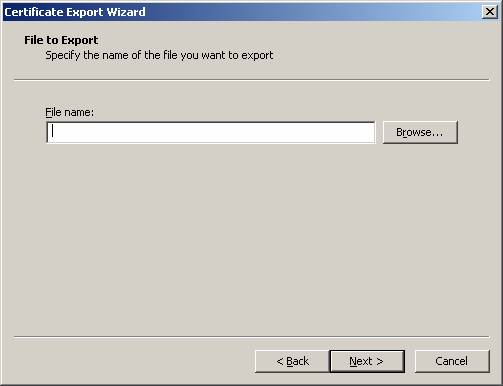
After giving the new password press the Next button. The following Wizard will popup asking for the path to store the Certificate. User can select the path where the Certificate has to be stored.
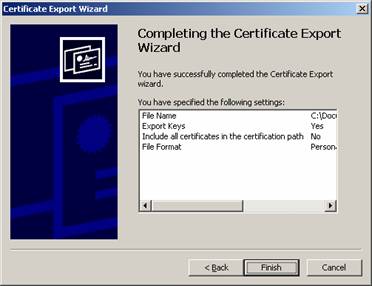
After
storing the Certificate in path specified, click Next button. Click Finish button.
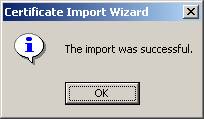
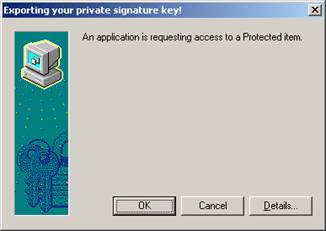
After clicking the Finish button in the above window, the following window will popup. Click OK.
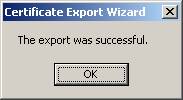
The export
successful message will be displayed.
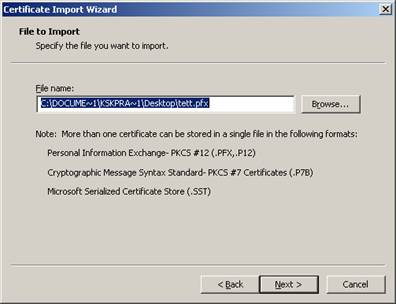
3. Import Certificate to Browser for enabling strong protection
Double click on the pfx
file received from Client.
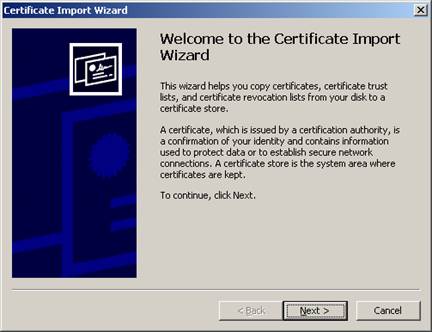
Click Next button.
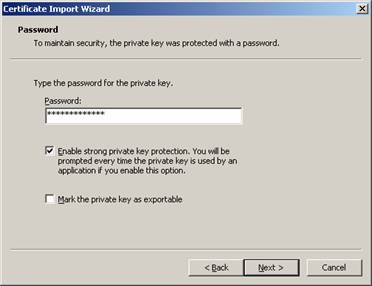
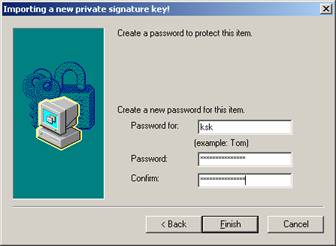
Click Next Button after giving the password of pfx file and checking “Enable strong private key protection”.
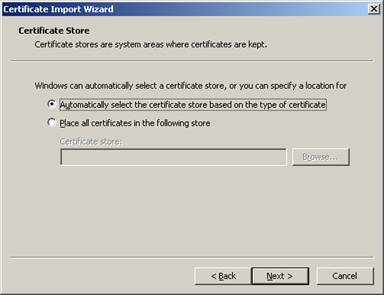
Click Next Button
Click Next button
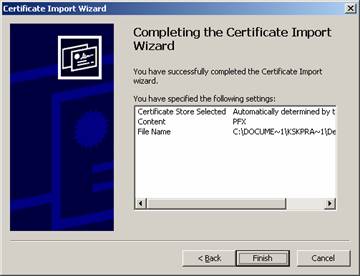
Click Finish button
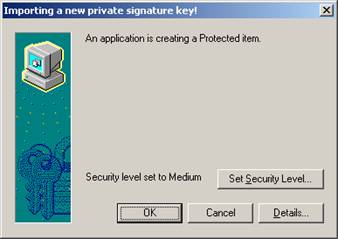
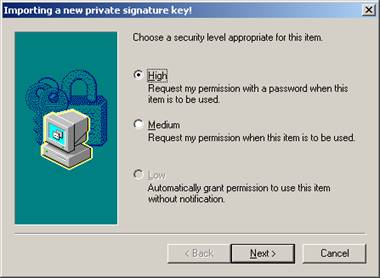
Click Set Security Level button and select “High” security level.
Click Next button
Click Finish button
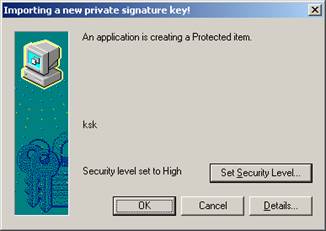
Click OK button
4. CHANGE PASSWORD OR MAKE A COPY OF DIGITAL CERTIFICATE
Double click on the pfx file received from Client.

Click Next button.

Click Next Button after giving the password of pfx file and checking “Mark the private key as exportable”.

Click Next Button

Click Next button

Click Finish button

Click OK button
Go to Internet explorer > Tools > Internet
Options > Content tab > Certificates button as given below

After clicking Certificates button, the following
window will appear where the user has to select the Certificate. Click Export
button to proceed.

After clicking the Export button, the following
Wizard will popup and proceed by clicking Next button.

Subscriber is requested to read the instructions
given in the below wizard Subscriber
has to choose the “Yes, export the private key” option for its safe
storage in the local disk or other media and proceed further by clicking Next
button.

In the below wizard it asks for different options. “Enable
strong protection” will be checked by default. We suggest you to keep it as default and
after getting the same certificate with a new password the same can be deleted
from the browser after confirmation of the successful download.
By clicking next the following window will be
displayed.

Provide the
new password and confirm it to enable strong protection to your key pair.
Note: Blank passwords are also accepted. It is
suggested to give password of reasonable length.
After giving the new password press the Next button. The following Wizard will popup asking for the path to store the Certificate. User can select the path where the Certificate has to be stored. (To change only password, select the original file. To make a copy of Certificate select other file name.)
After
storing the Certificate in path specified, click Next button. Click Finish button.

After clicking the Finish button in the above window, the following window will popup. Click OK.

The export
successful message will be displayed.
